Guide to Setting Up an Oracle Cloud Account for MySQL HeatWave Service
Overview
This guide is designed to walk workshop participants through the process of creating an Oracle account, which is the foundational step required to access and utilize the Oracle MySQL HeatWave service. The Oracle Cloud Infrastructure (OCI) offers a comprehensive cloud computing platform that includes a wide range of services, among which MySQL HeatWave stands out for its advanced analytics and machine learning capabilities.
Objectives
- Learn the step-by-step process for creating an Oracle account.
- Prepare for the hands-on exploration of MySQL HeatWave service in the workshop.
Prerequisites
- A valid email address for account verification.
- A credit card for identity verification purposes (no charge will be incurred for the free tier).
- Basic familiarity with cloud services and databases is helpful but not required.
Step 1: Sign up for the Free Tier OCI Account
Cloud Free Tier allows you to sign up for an Oracle Cloud account which provides a number of Always Free services and a Free Trial with US$300 of free credit to use on all eligible Oracle Cloud Infrastructure services for up to 30 days. The Always Free services are available for an unlimited period of time. The Free Trial services may be used until your US$300 of free credits are consumed or the 30 days has expired, whichever comes first (see OCI Free Tier FAQ).
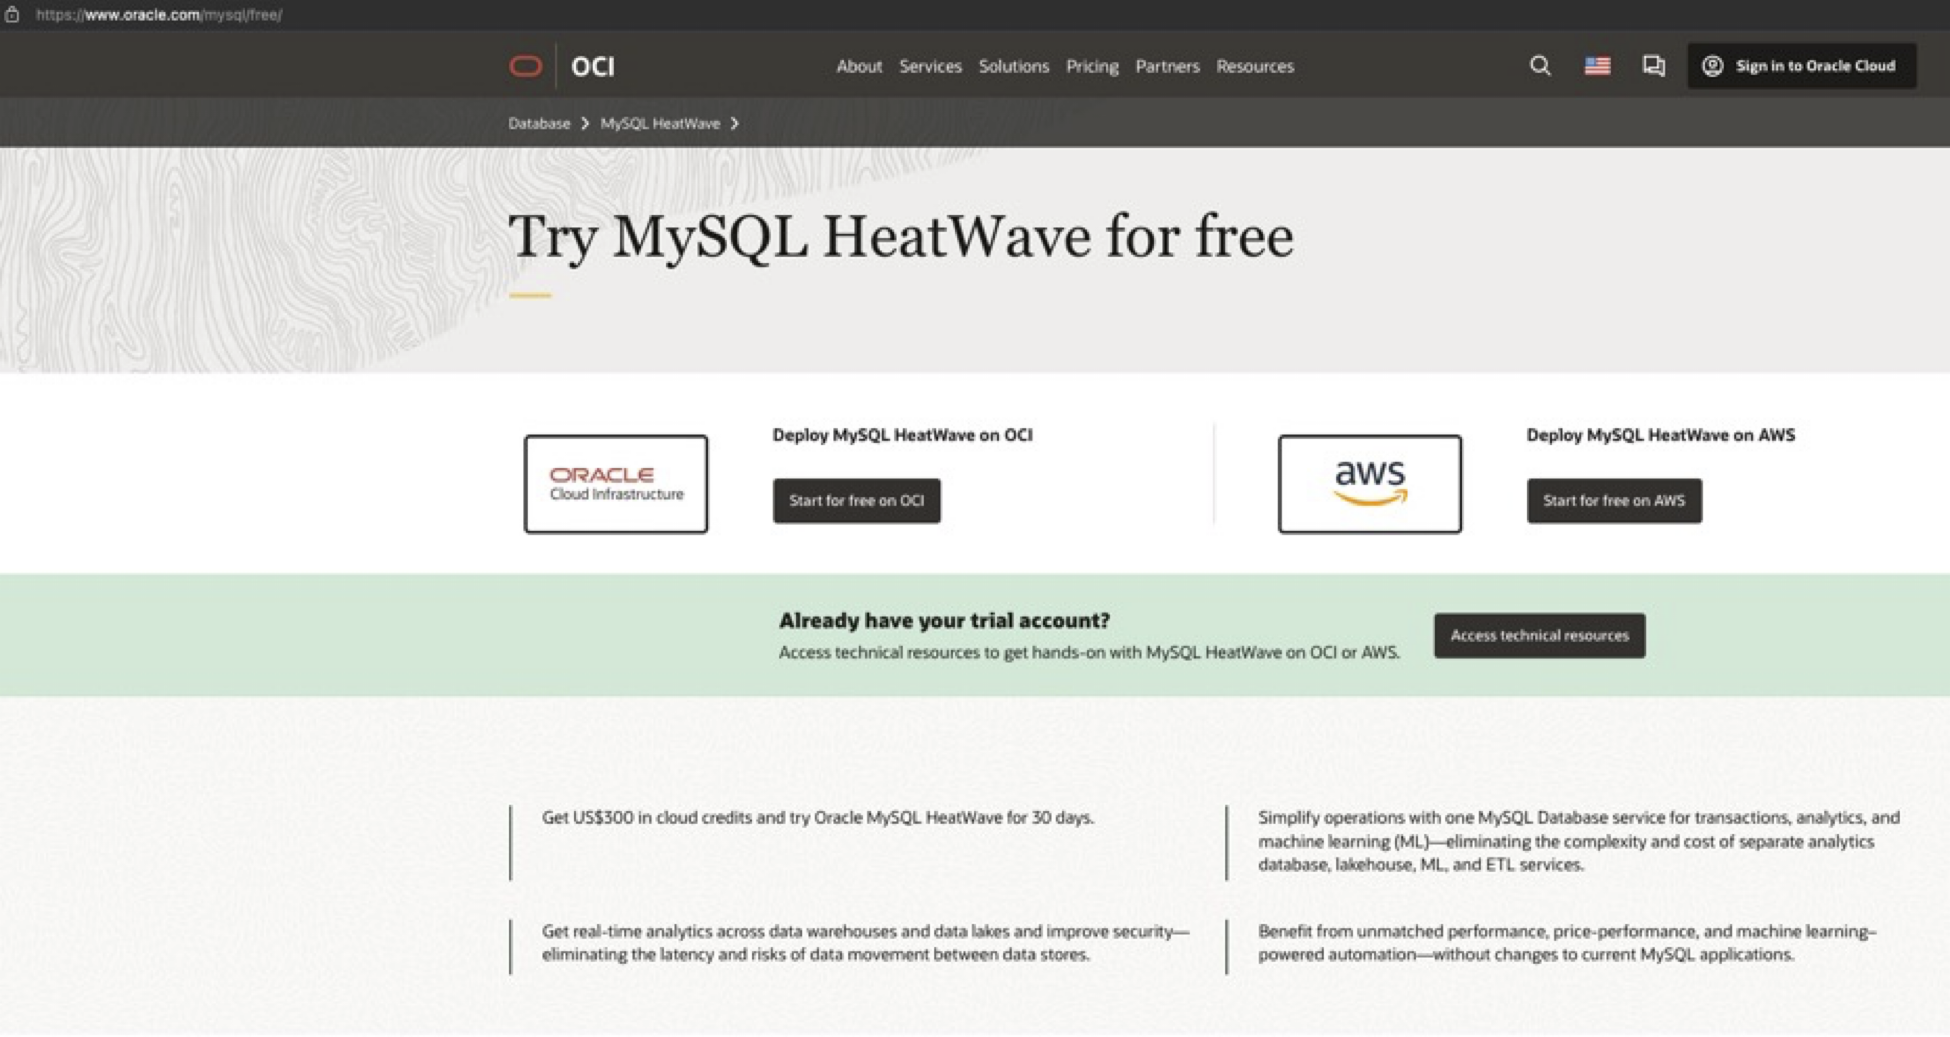
- To sign up for an Oracle Cloud Free Tier Account, please, visit Try MySQL HeatWave, and click on Start for free on OCI.
Step 2: Provide Your Basic Information
-
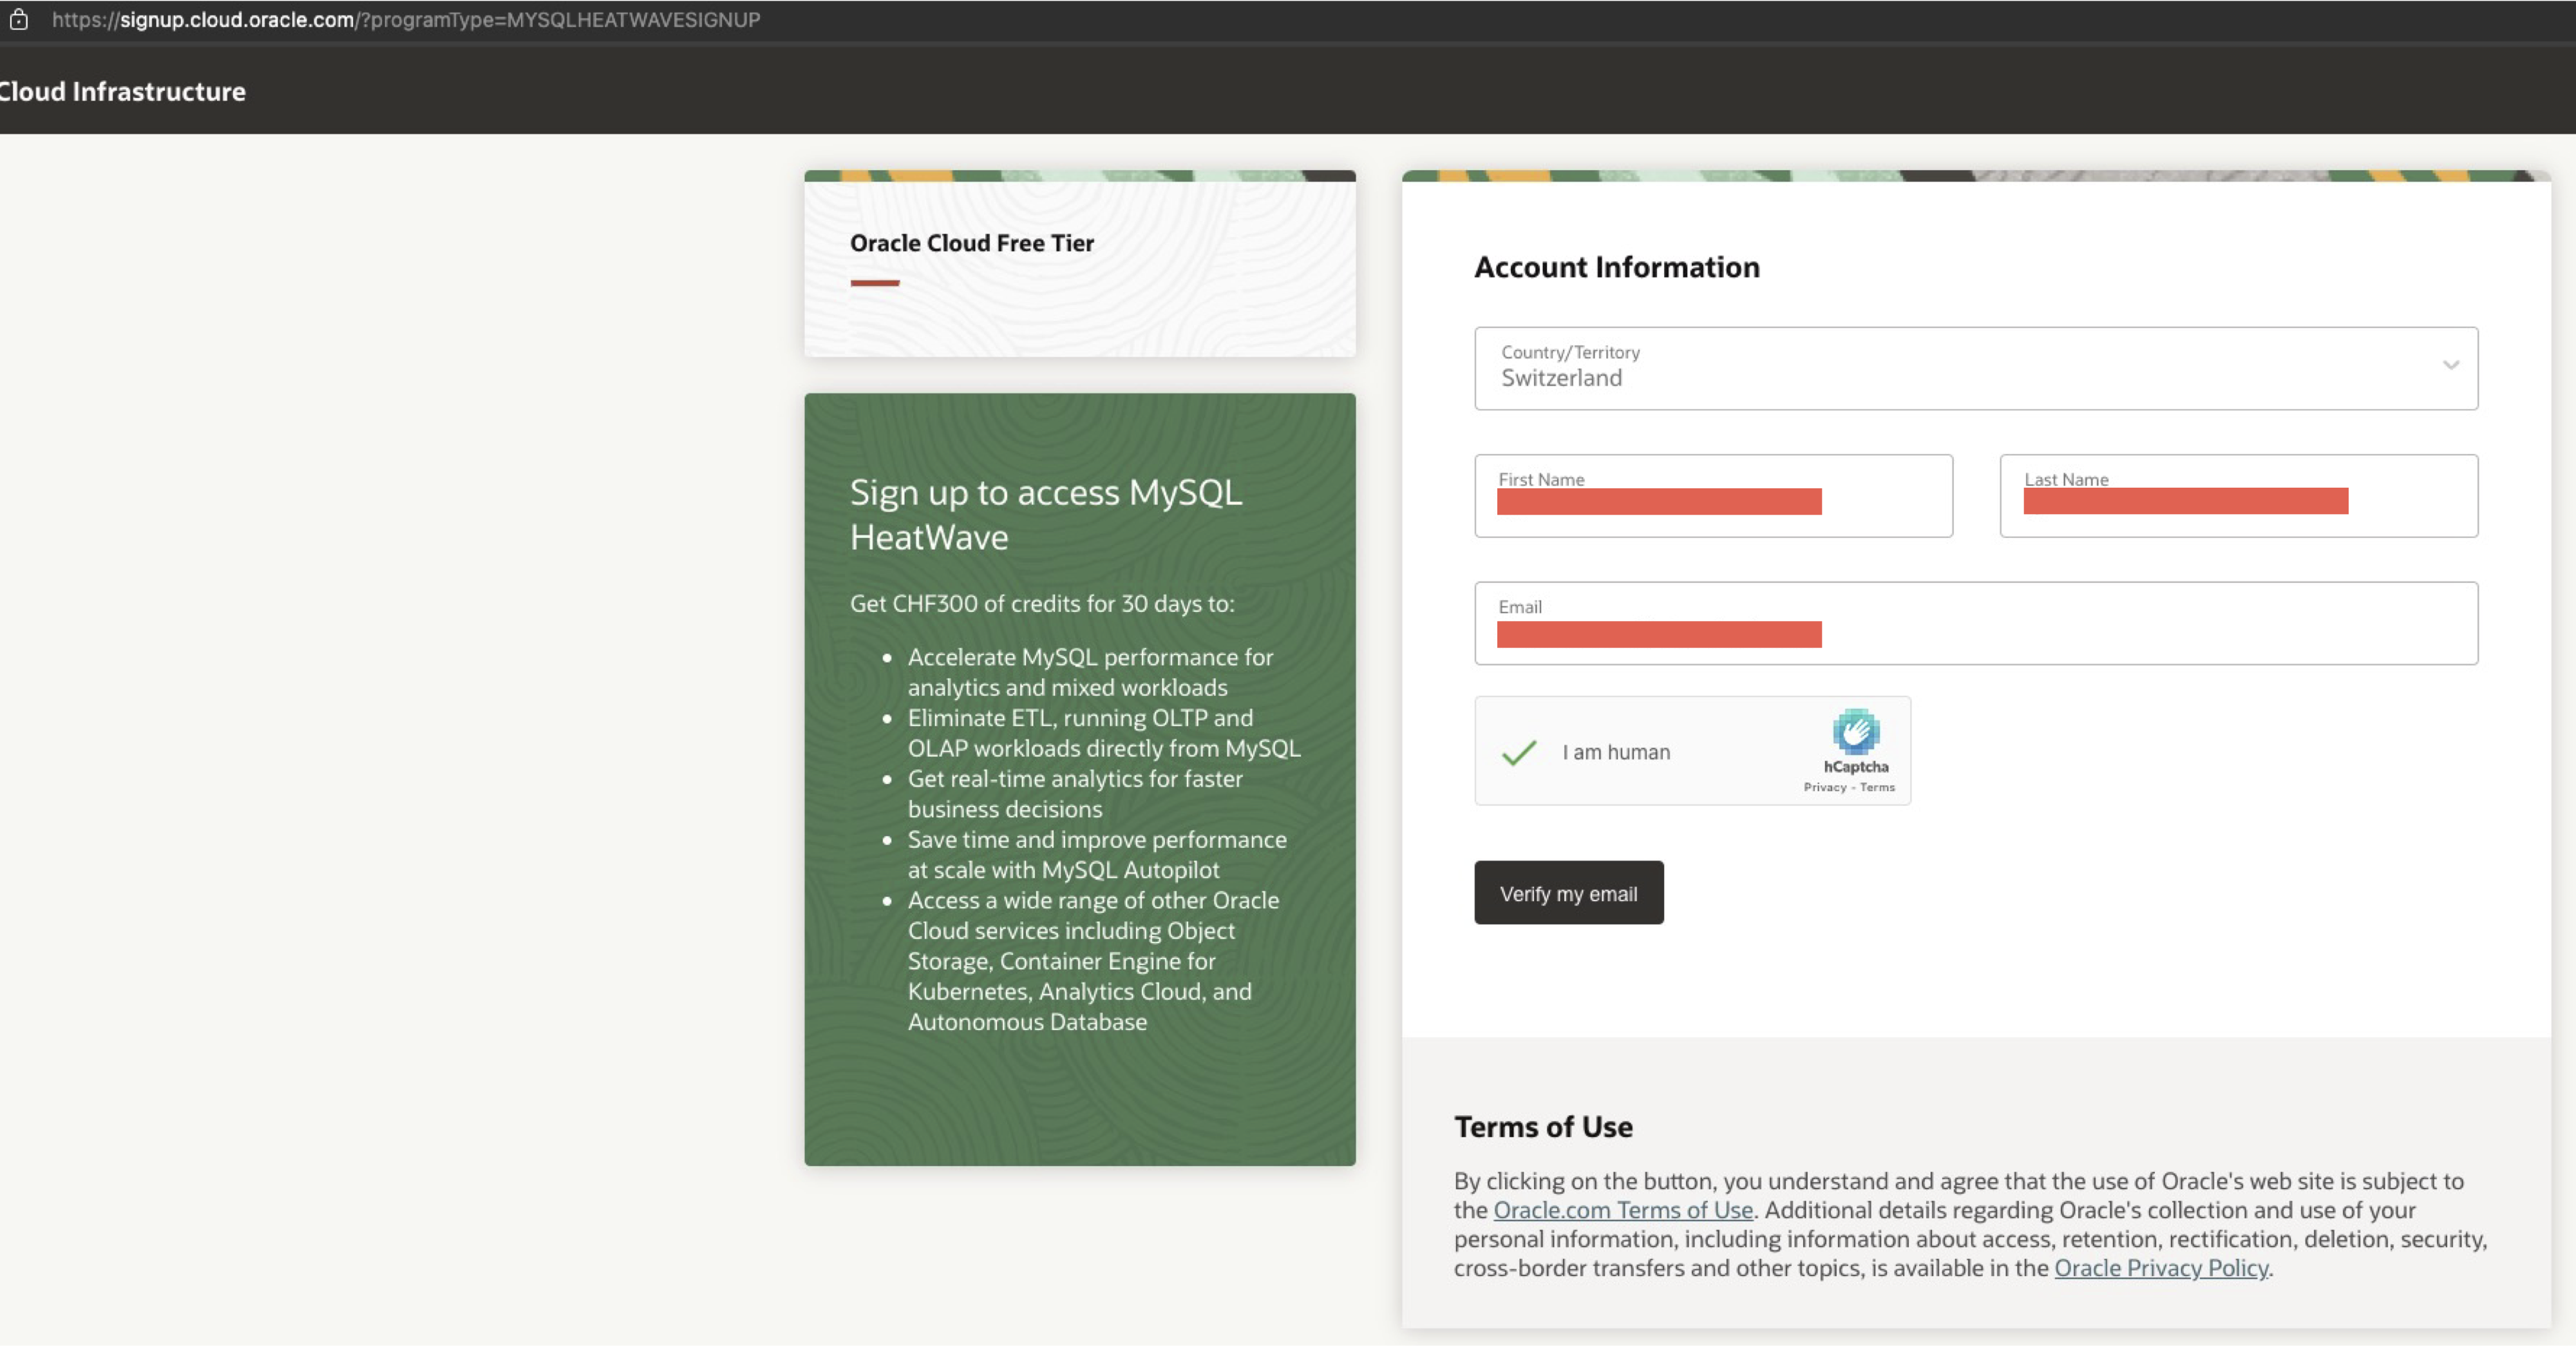
On the sign up page, enter Country/Territory, First Name, Last Name and Email Address, then read Terms of Use, fill out the Captcha and click on Verify my email.
-
Access your email and click on the Verify email link.
-
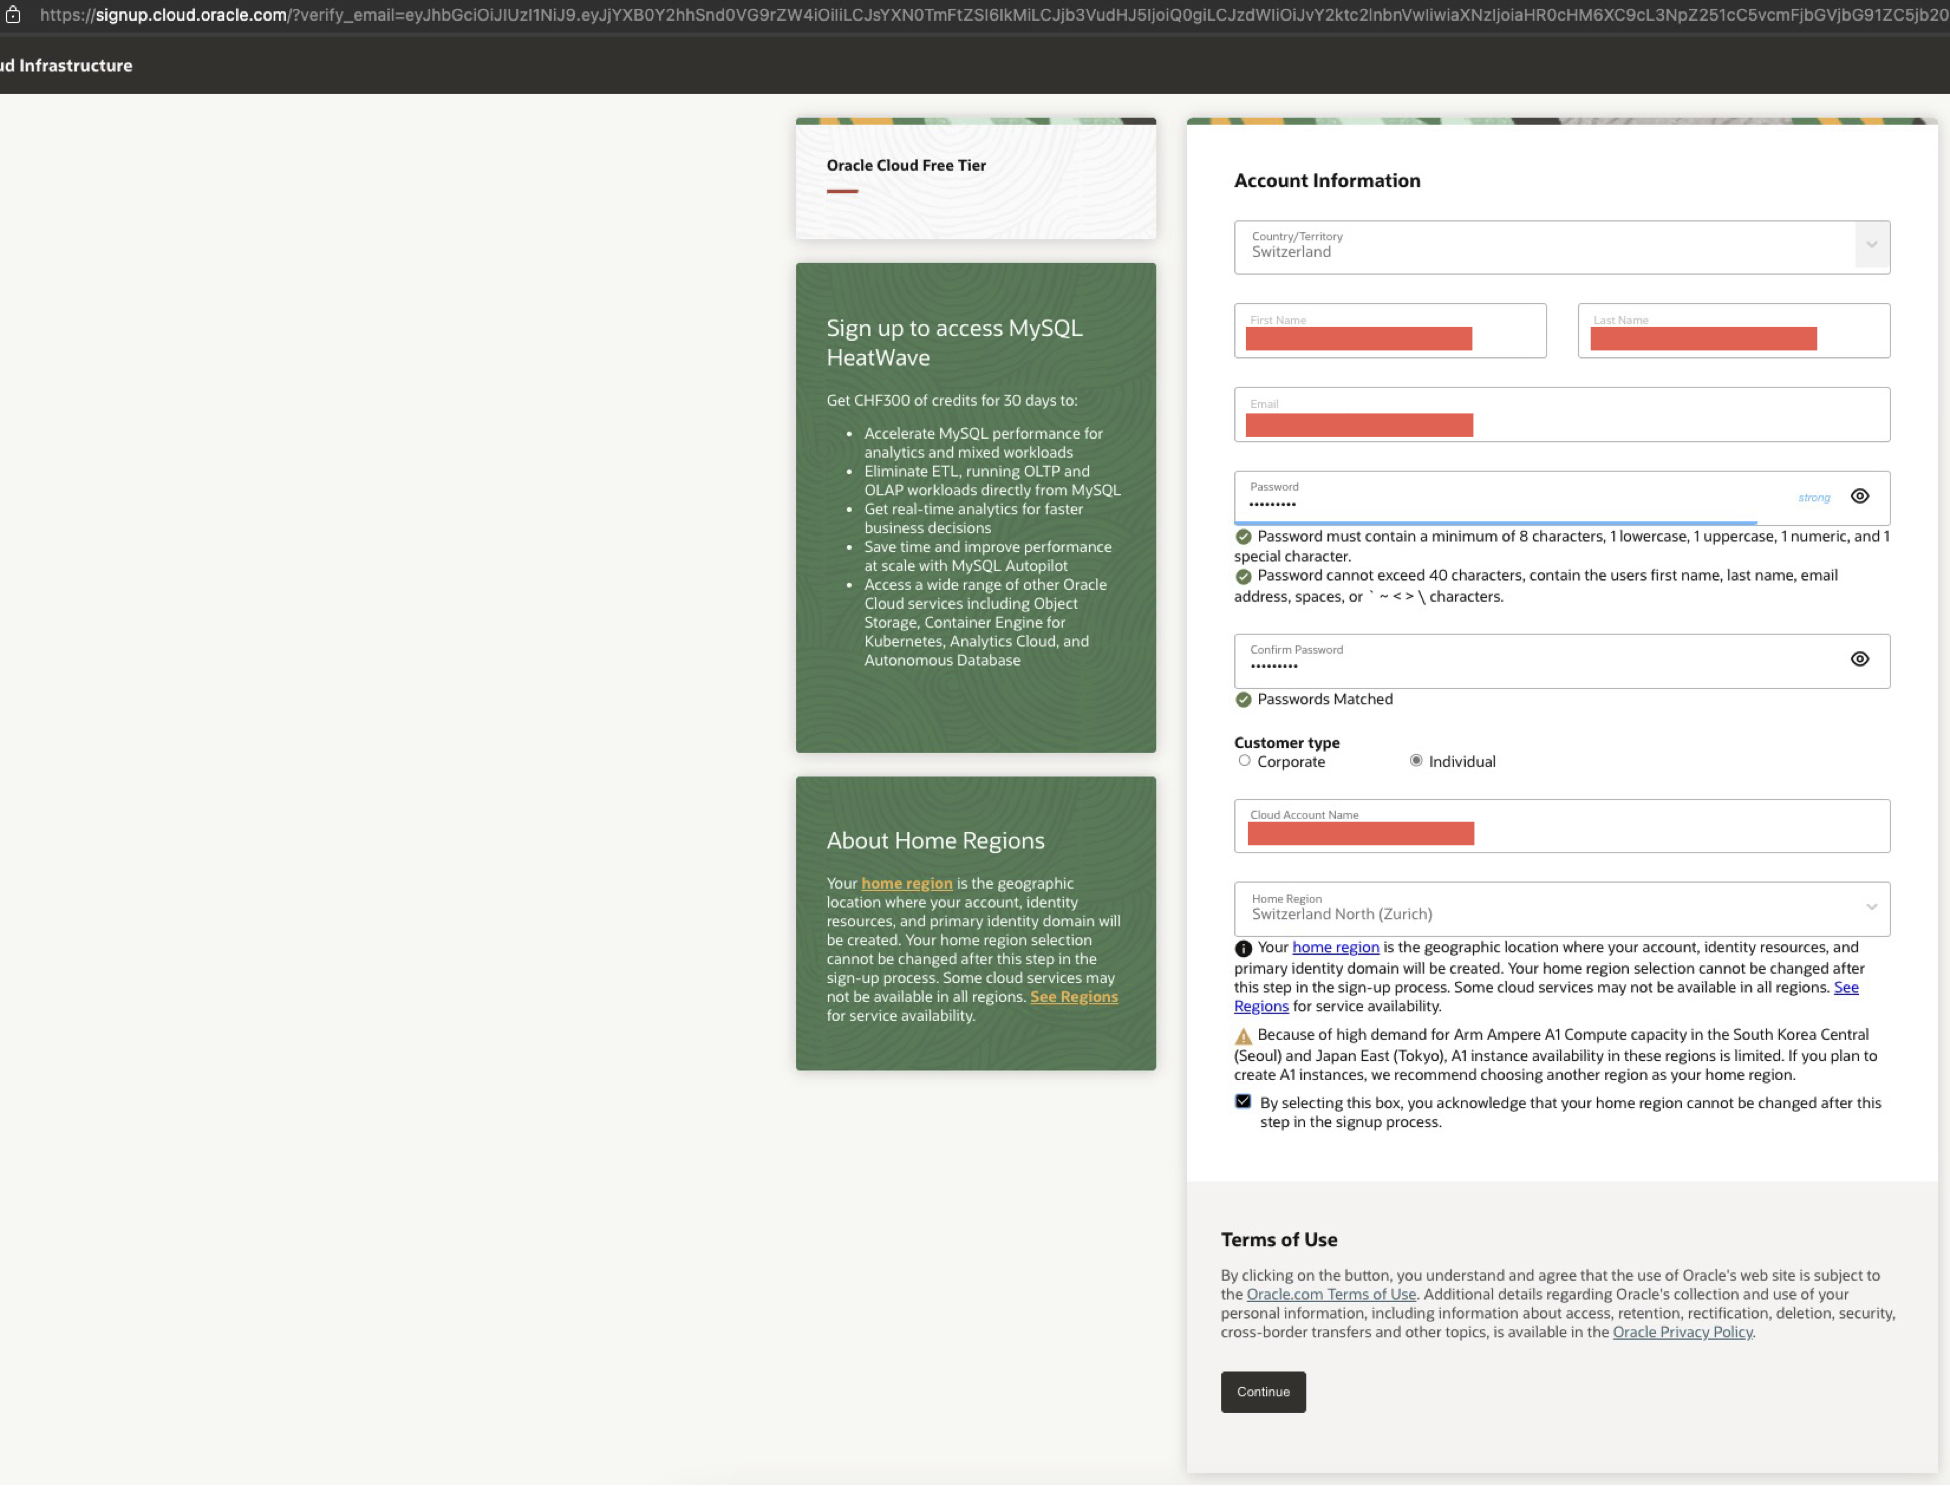
Create a password according to the requirements, select Individual as Customer type, choose a cloud account name and a Home Region, click on the checkbox and then Continue.
-
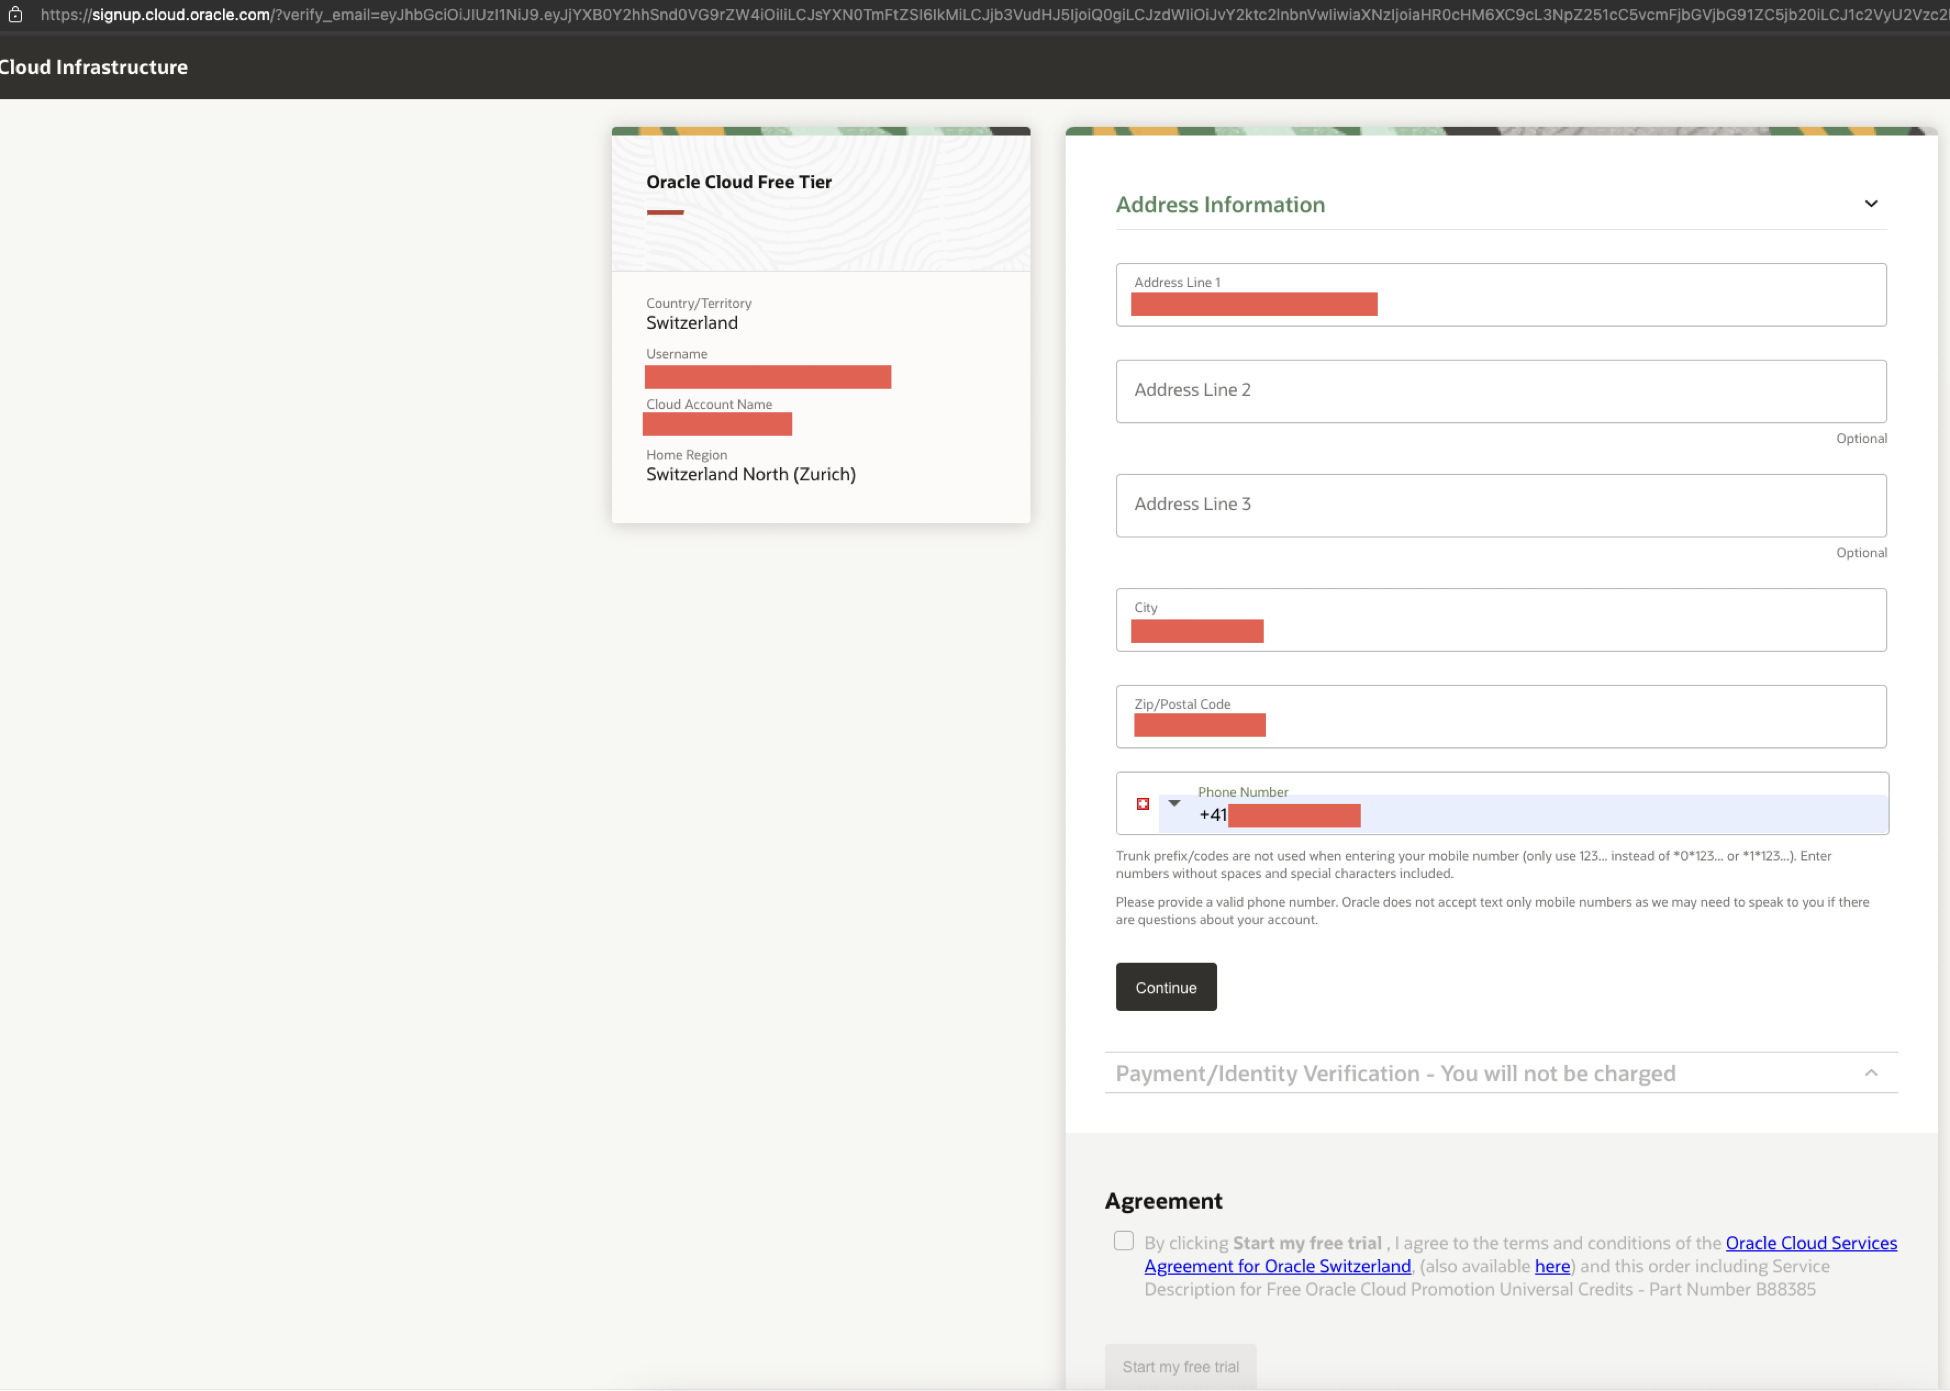
Add your address information and your phone number, then click on Continue.
Step 3: Verification and Payment Information
-
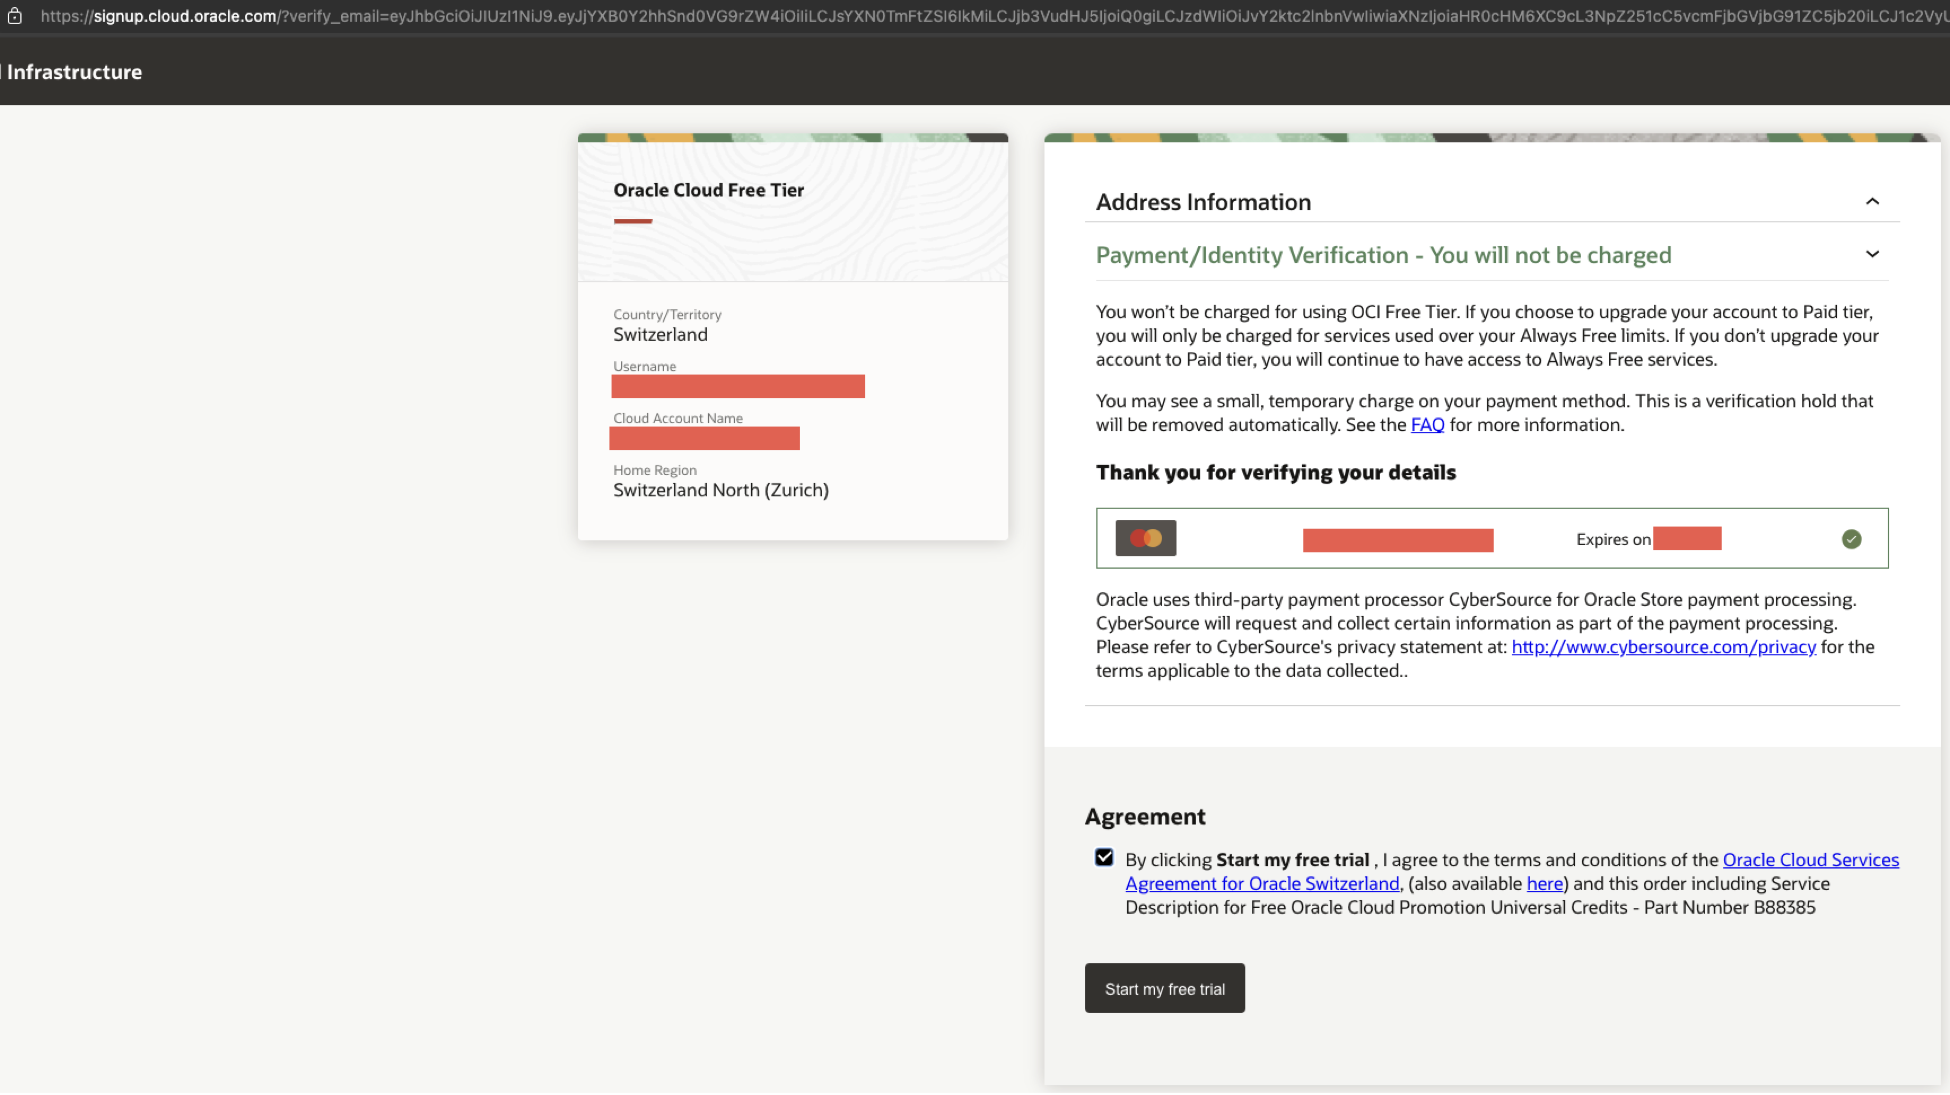
Click on Add payment verification method, for identity verification add your credit card details (note that you won’t be charged unless you elect to upgrade your account to Paid tier). Then check the agreement checkbox and click on Start my free trial.
-
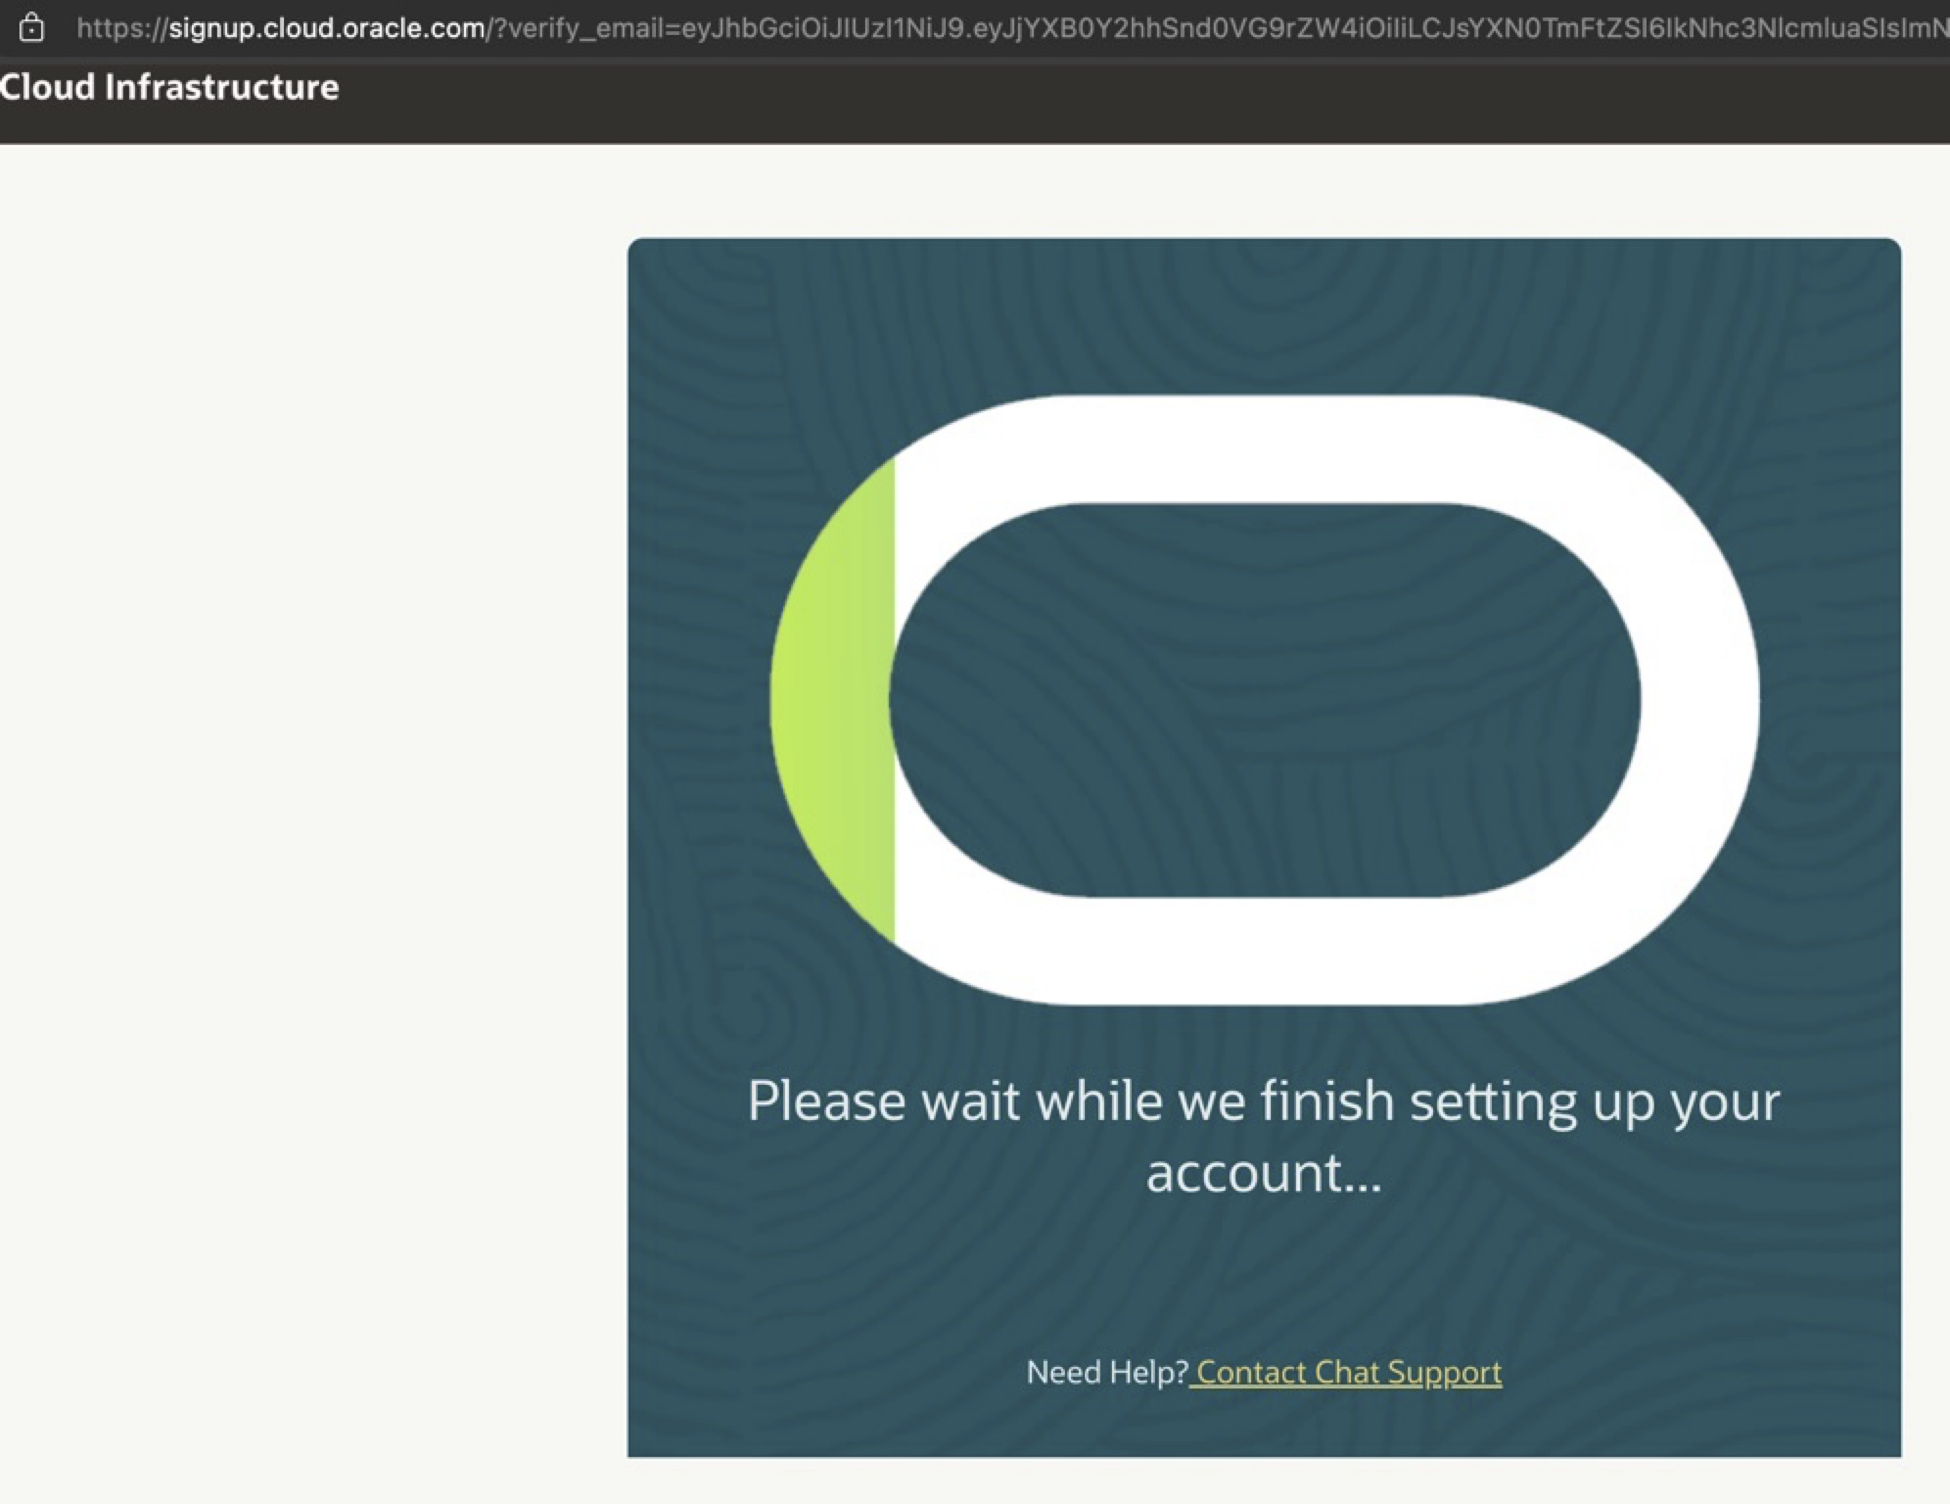
Wait while the account is provisioned (don’t close the tab).
Step 4: Accessing Your Oracle Cloud Account
-
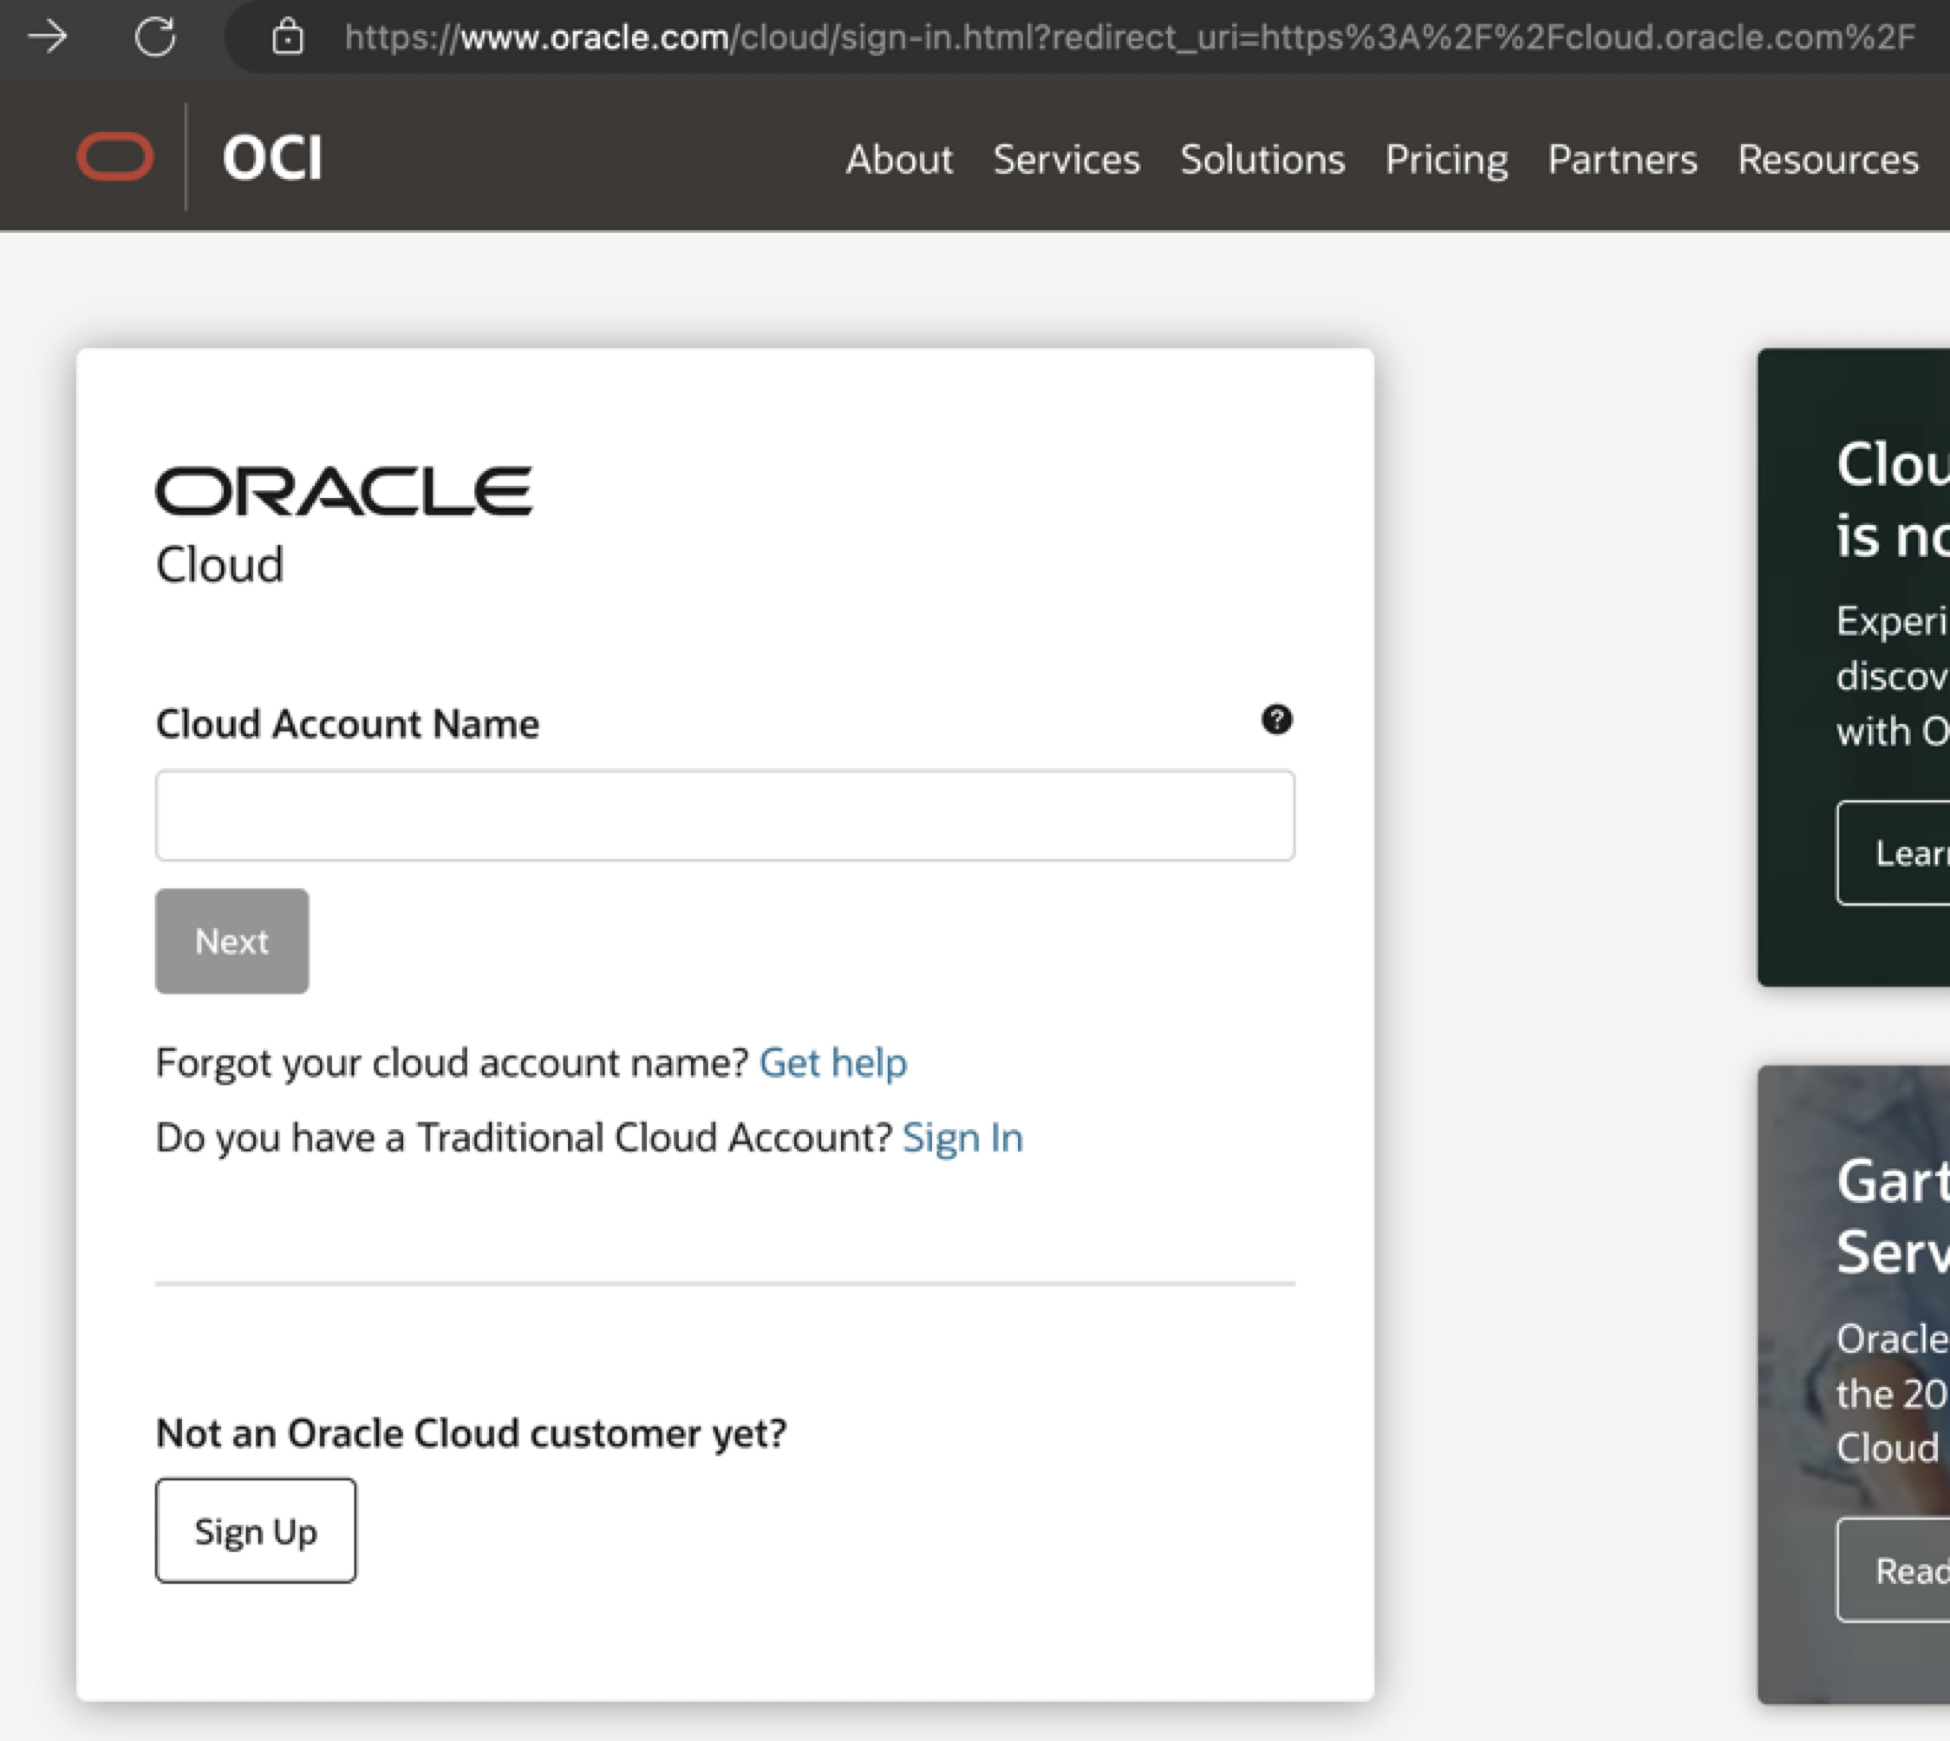
After a couple of minutes, you should be redirected to the sign in page. First add your cloud account name and click on Next.
-
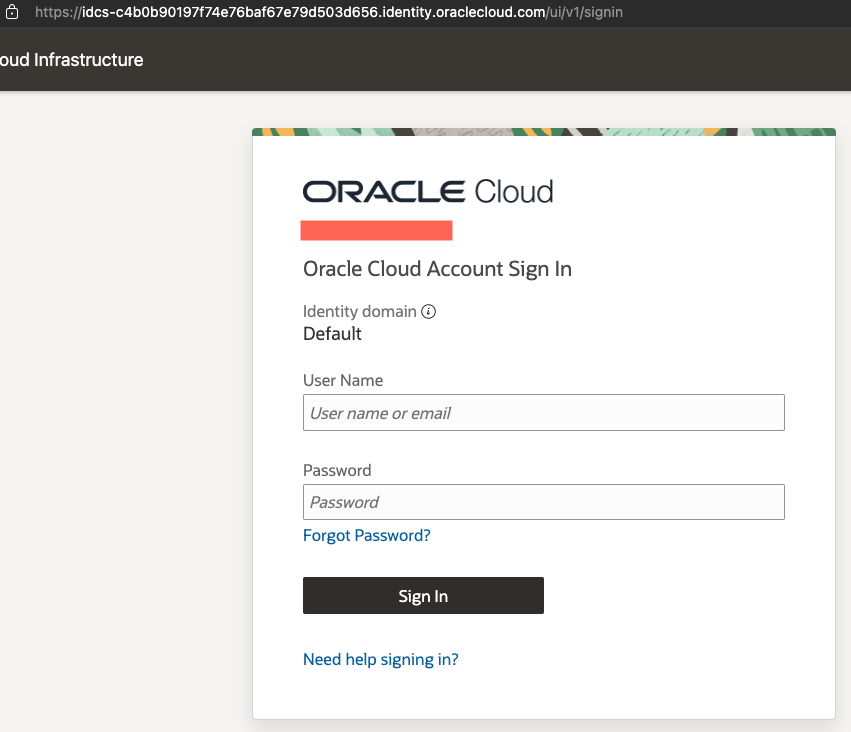
Then, add your username and password.
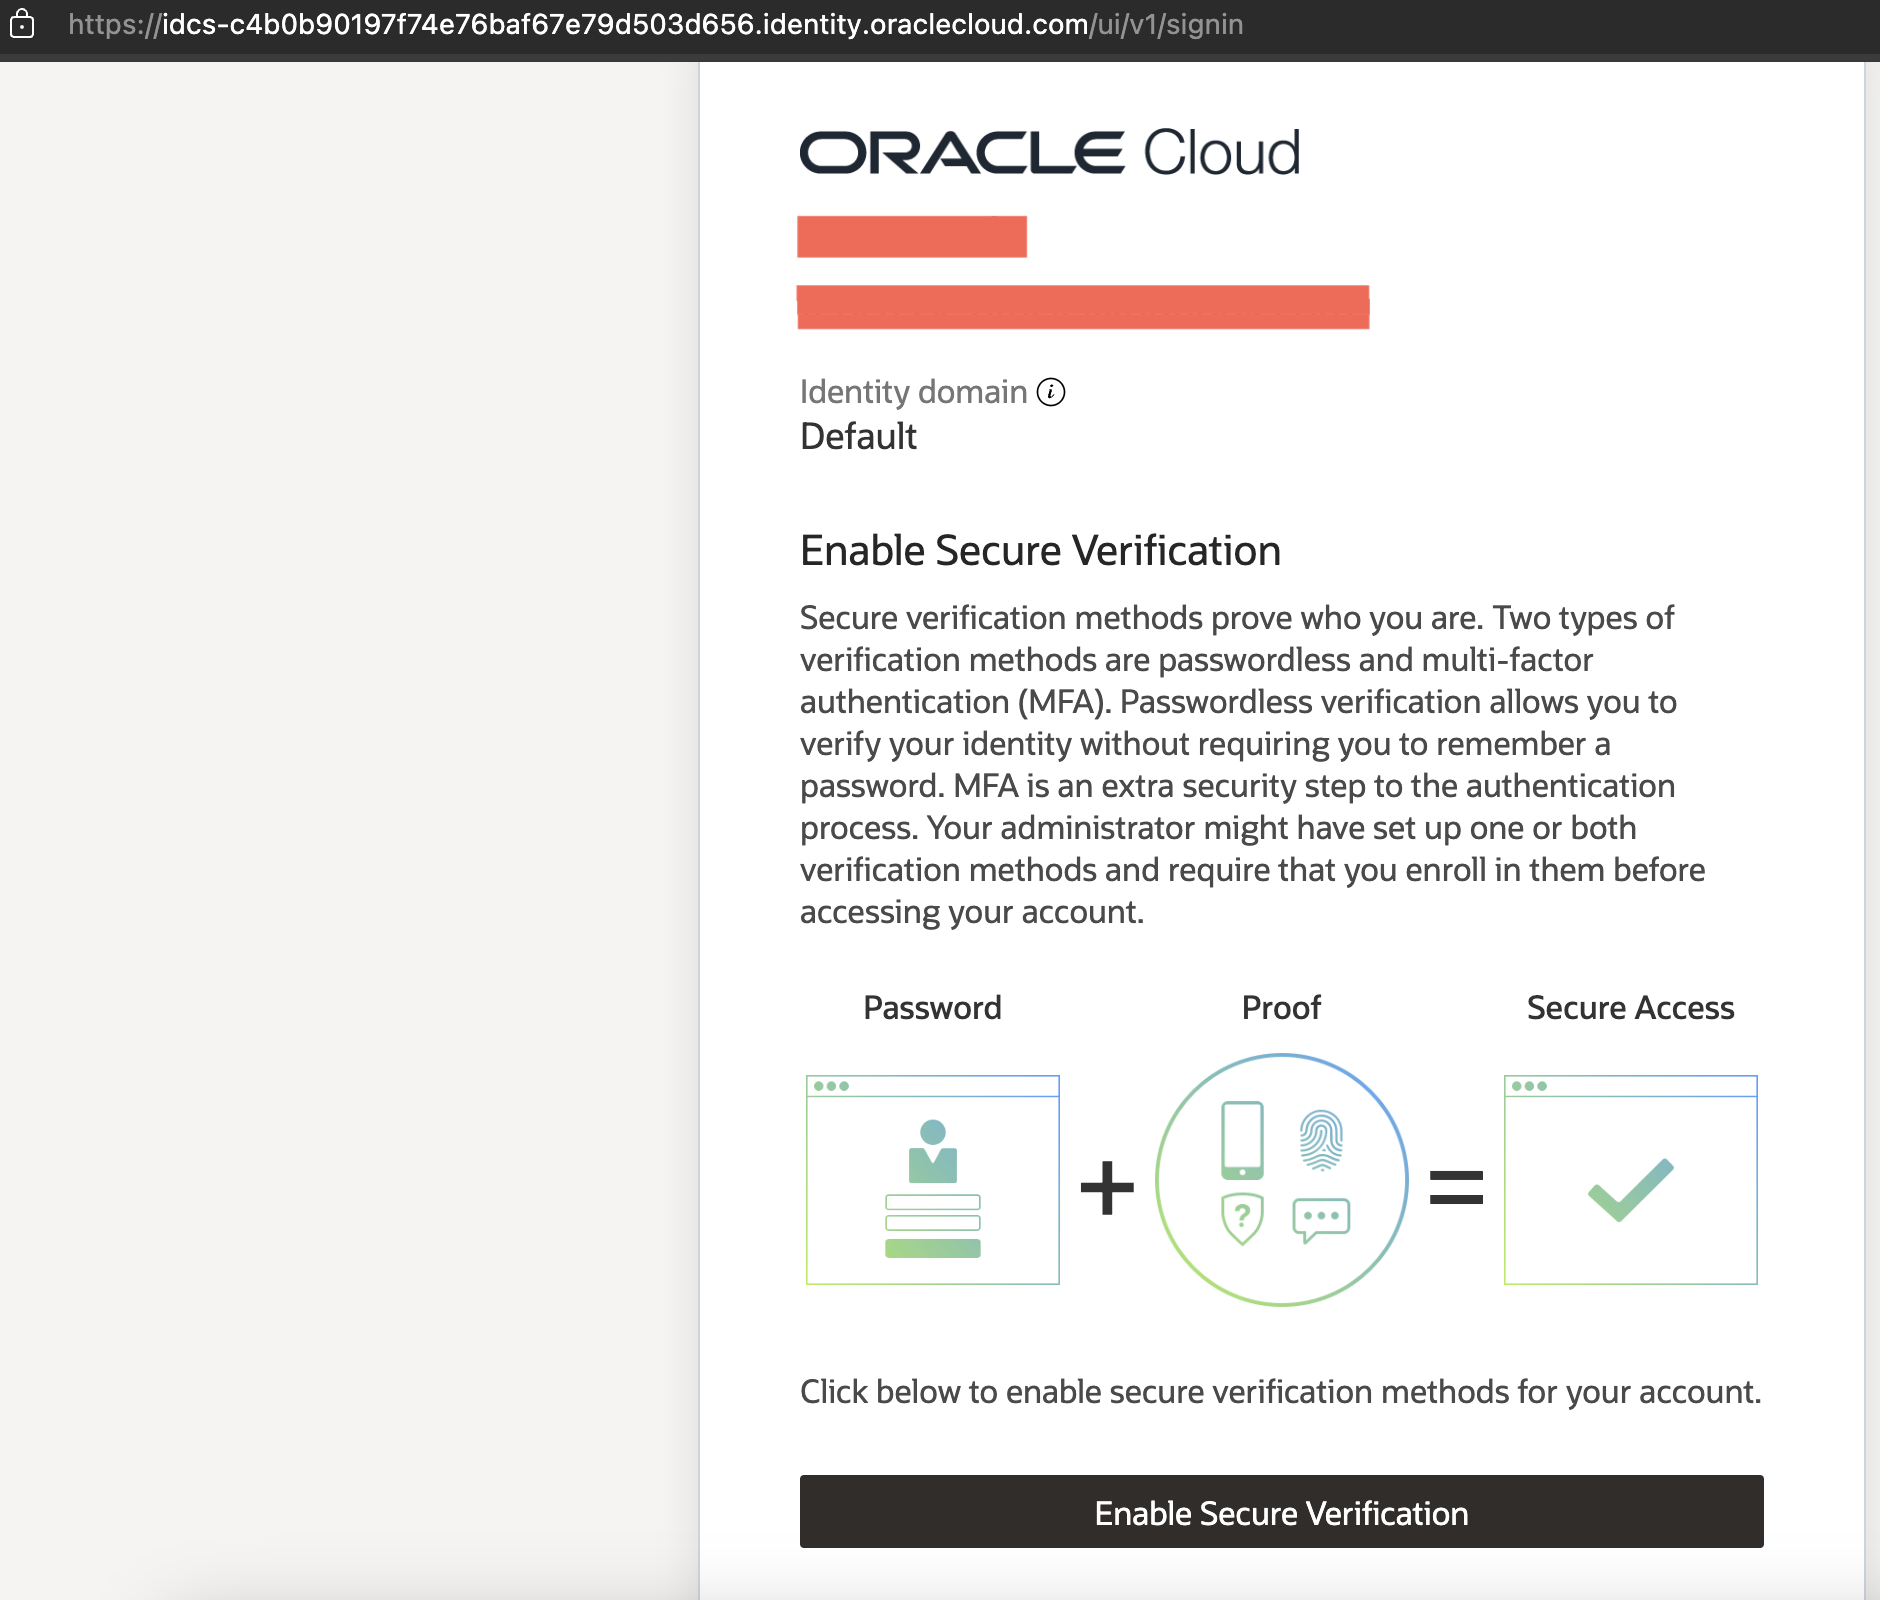
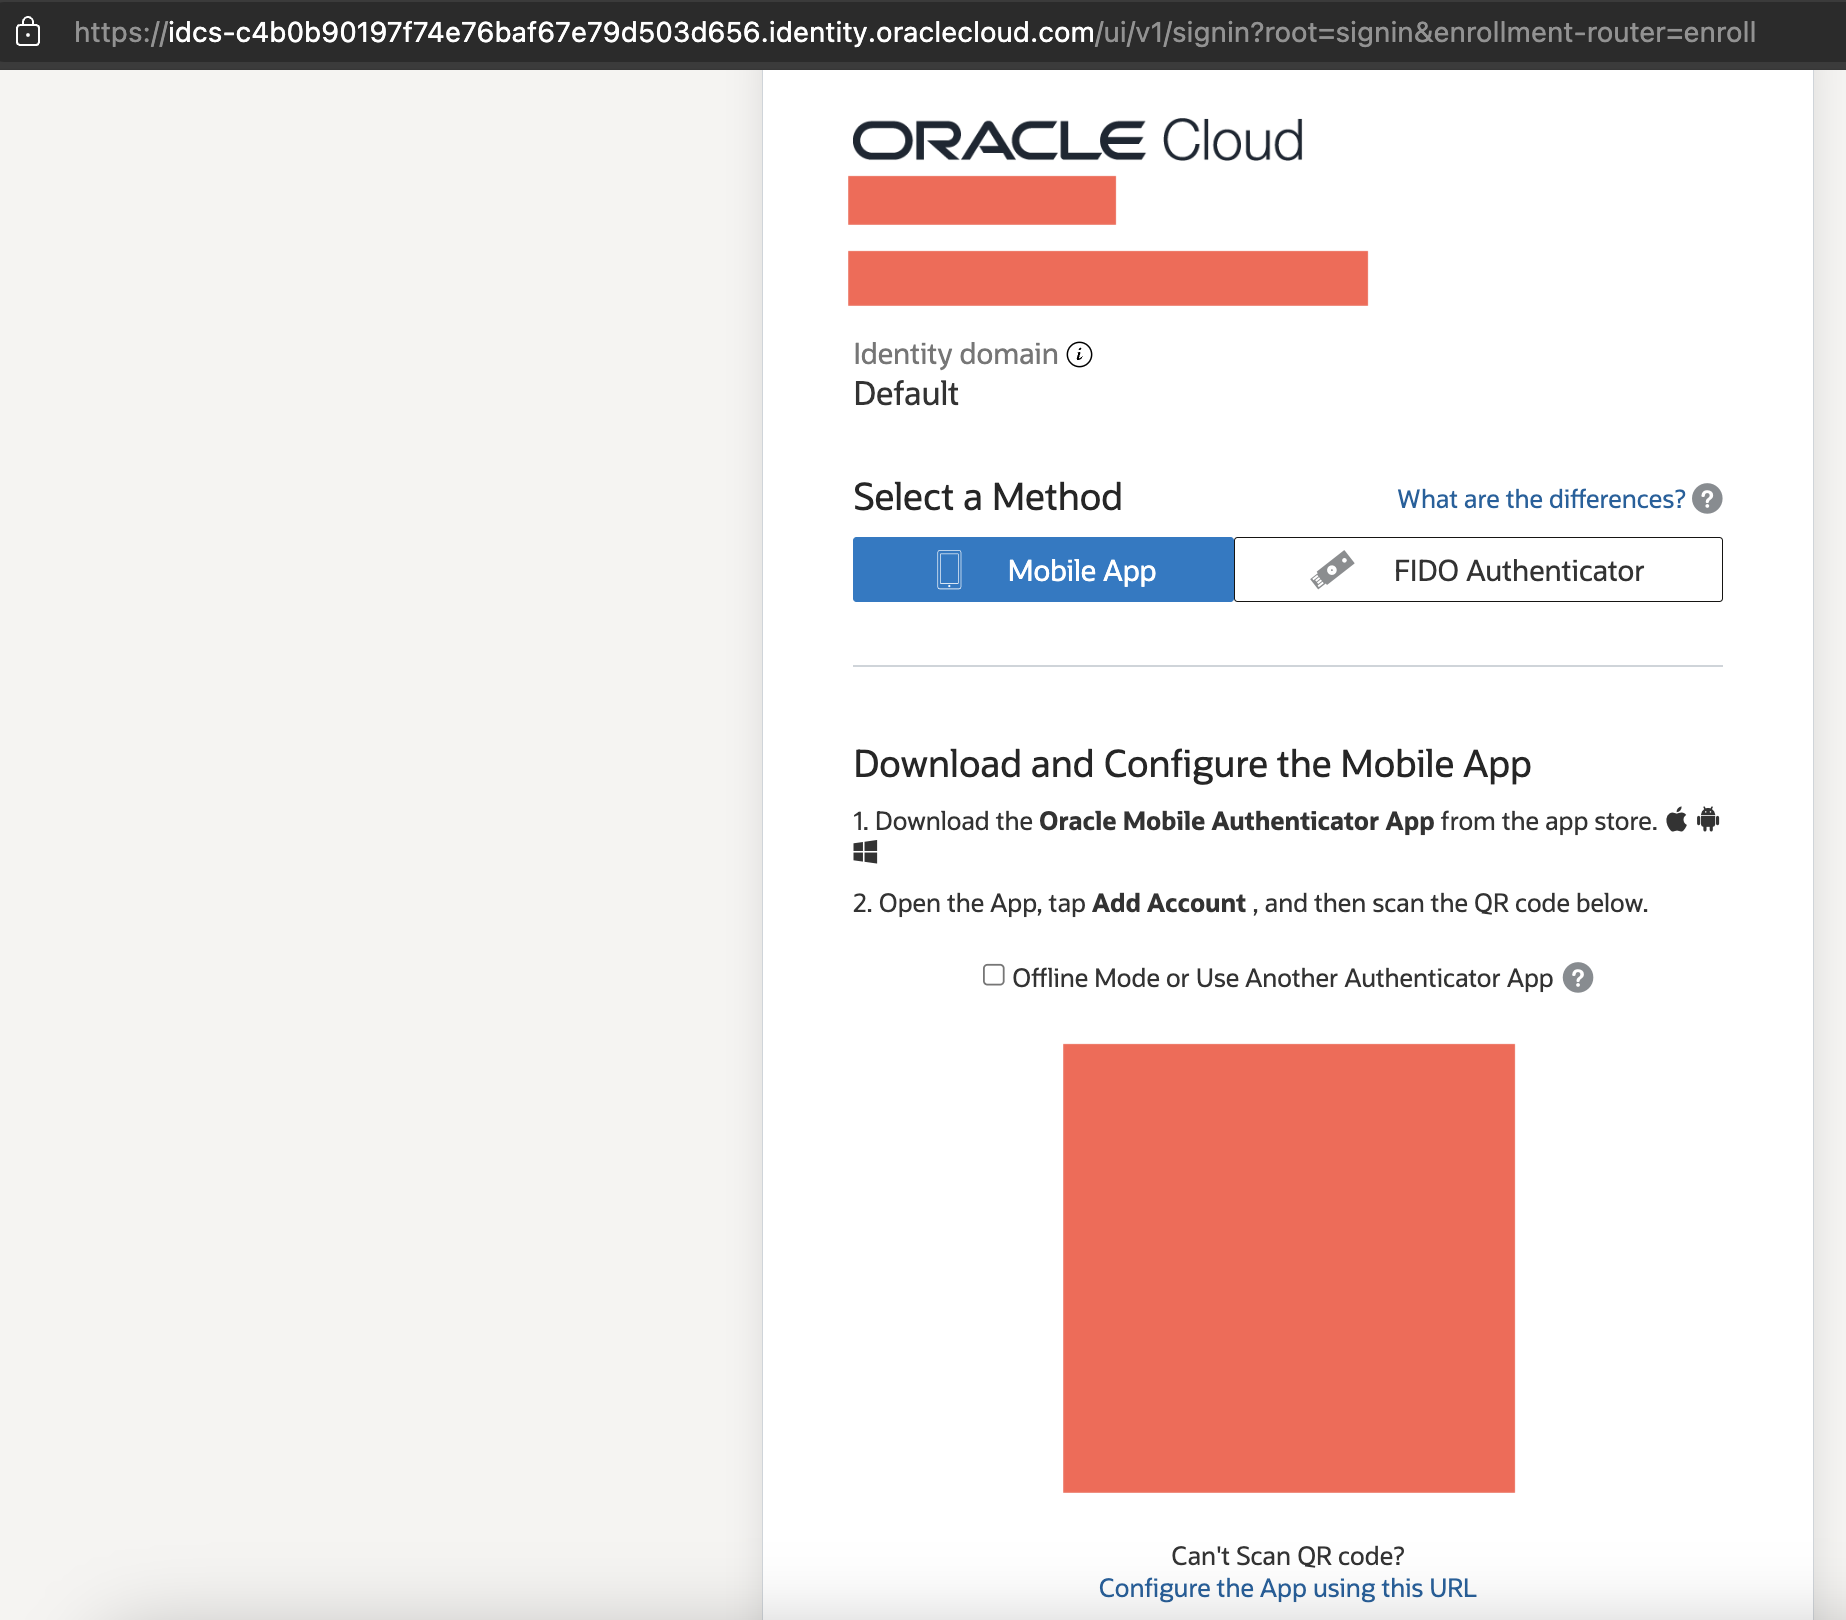
Step 5: Enable Multi-Factor Authentication (MFA)
-
The final step is enabling MFA verification. Follow the instructions to download and configure the Oracle Mobile Authenticator App. After scanning the QR code the page should refresh and recognize that a second factor has been added.
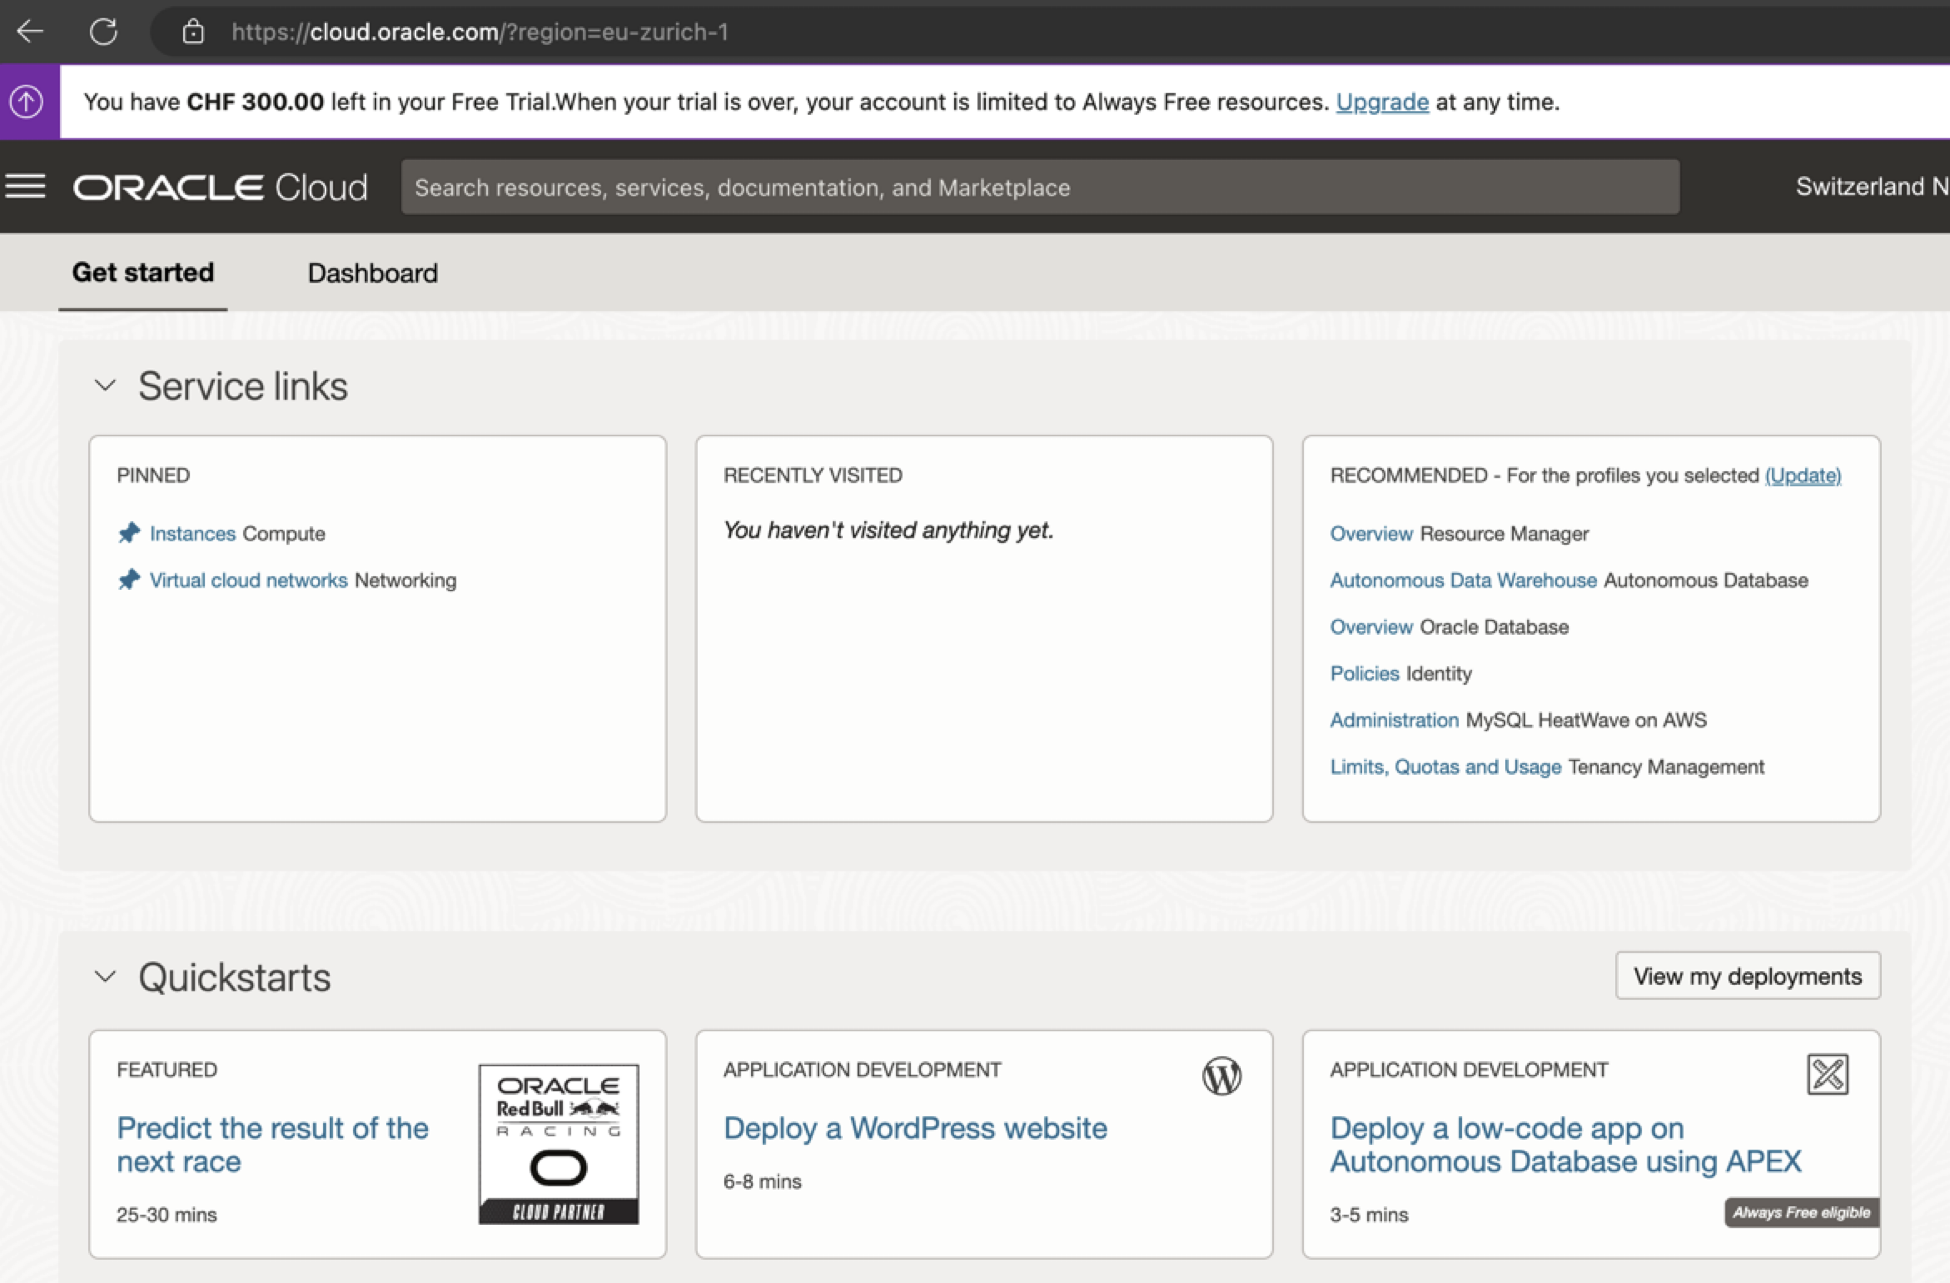
-
You are in the OCI Console now. Well done!
Conclusion
Congratulations on successfully setting up your Oracle account!
You are now ready to take the next step in your cloud journey. In our upcoming session, we will guide you through setting up the infrastructure of your cloud by configuring a Virtual Cloud Network (VCN), laying the foundational network that will support your Oracle MySQL HeatWave service and other cloud endeavors.